Why is Calibration Important?

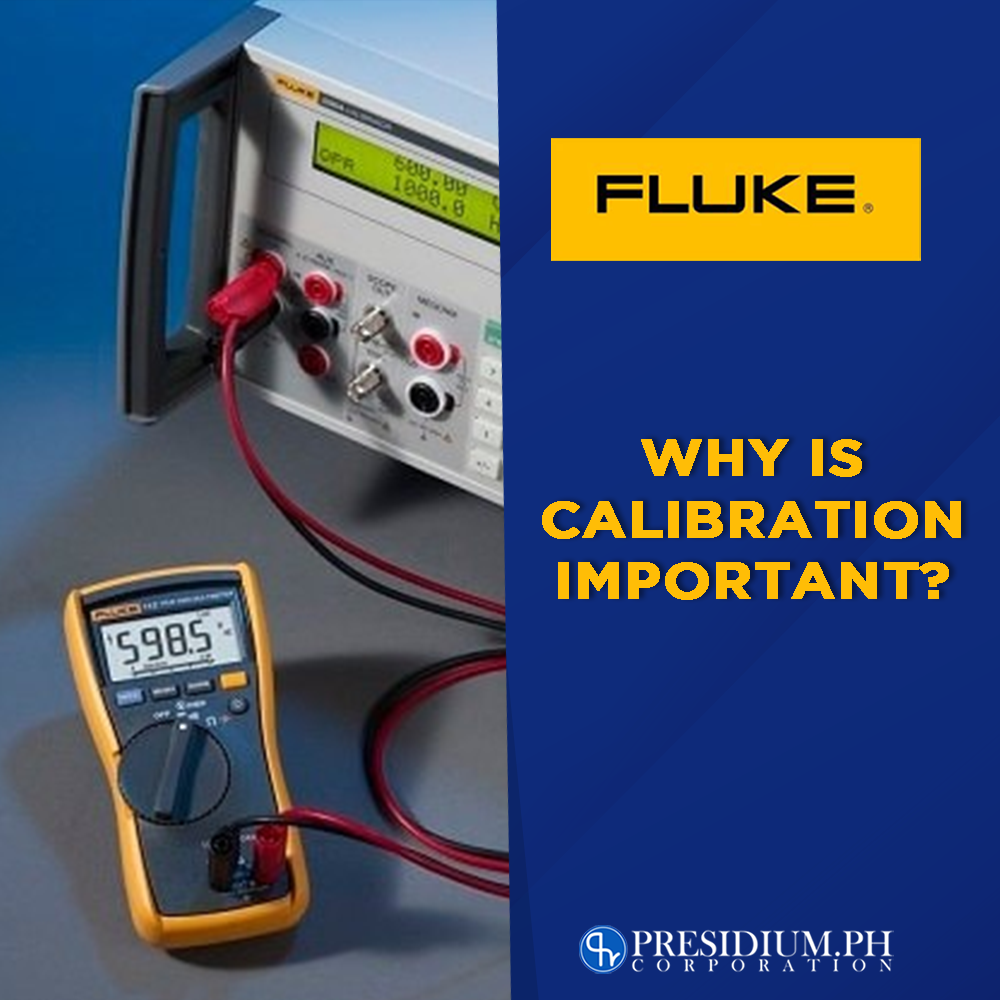
Often, we hear calibration mentioned when we search for Fluke tools online. But do we really know what it truly means? Calibration is one of the most important steps to knowing if your device is measuring up to its full potential, and that is why it is important. Given that there are different devices, calibration also comes in different forms relating to the tool that needs to be calibrated.

What is Calibration?

A value of a tool is everything. Calibration is the process of comparing a device under test of an unknown value. Only this time there will be a reference standard of a known value. With this process, a thorough reading can be done with the tool being used. By performing calibration to tools, errors can be determined, faults can be found, limitations can be evaluated, etc.

Take thermometers as an example. It is a given fact that thermometers measure temperatures, right? You can conduct a calibration test on thermometers by putting them in water with a boiling point of 212 degrees Fahrenheit. By doing so, you will be able to learn the errors that the thermometer holds. Remember, visual facts hold less than actual testing. And by placing calibrated reference thermometer under a series of tests, you will be able to find out its precise value. One of them is putting the device under test, which is the thermometer into the water, yes that is one way to do it.

But do not be mistaken, calibration is not an act of corrective adjustment. Corrective adjustment is completely different from calibration which also requires the use of different methods. Nevertheless, calibration is a process that leads you to the step of corrective adjustment only if it applies to the device.

Why is it important?

Calibration tools are relied upon by many professional engineers, technicians, metrologists, and more. This is because calibration can help them gain more confidence regarding the tool’s safety and reliability. It is not just tools that are calibrated but a lot of things such as flights, medications, nuclear facilities, computers, appliances, cell services, and many more. These industries also go through the process of calibration to not only ensure safety and reliability but also for quality and cost.

Calibration is a way to make sure that all tools are working in their optimum condition. Moreover, it is also a way to prevent failures when in use or while in production.

But that is not all, what makes this all the more impressive is its enablement to open doors to opportunities. Calibration takes steps (considering that it is continuously developing) to improve scientific discovery and industrial manufacturing.

The Chief Corporate Metrologist of Fluke Corporation

Jeff Musk actually has some very important insights regarding the importance of Fluke calibration. According to the chief, he said, “If you are performing measurement where the results will make a critical decision such as a safety test or if a manufactured product meets requirements, you must have your equipment calibrated so that the performance is known and fit for purpose. This is especially important if you want your results to correlate with others around the world.”

Another fact of why calibration is important is because all things wear down, especially with electronics. Overall, expect that your device will not look, feel, and perform as it once was when it was brand new. Expect that there will be lapses in time. But by doing the annual calibration, you will be able to make sure that it operates properly based on its product specifications.

Different kinds of calibration.

There are various kinds of Fluke tools in the market, each boasting special functions, and applications in different electrical or mechanical work. With this said, it is ideal to have not one but multiple calibration tools to make sure each device works properly and perfectly in different projects or operations. Fluke has six different calibration tools that you need to know about. Here are some of them…

  1. Electrical
  2. RF
  3. Temperature
  4. Humidity
  5. Pressure
  6. Flow

Calibrate through an authentic source!

Presidium PH is an authorized distributor of Fluke test tools in the Philippines. Rest assured that all tools have gone through proper tests to prevent faults from penetrating your projects that might cause bad downtimes by using the best test tools there are!

If you want to know more about Fluke tools and their functions, visit our website for more info! This is a one-stop shop for the best test tools within Metro Manila.

You could reach us at info@presidium.ph / calservices@presidium.ph for inquiries.

Read more

All You Need To Know About Non-Contact Voltage Testers

Being one of the sought-after tools in the market, Fluke’s non-contact devices take center stage. Fluke being able to create tools that can help workers take tests and measurements from a safe distance is one of its defining features. Expect that almost half of the test tools will have this winning function.

On the other hand, non-contact voltage testers don’t stray far from its family of digital multimeters. Only this time, they offer a more direct approach to detecting voltages. Not to mention, they are also very handy in terms of sizes. Here, we will be discussing all you need to know about them!

What is a Non-Contact Voltage Tester?

For staff in the electrical, industrial, and maintenance departments, this is a huge sigh of relief. Gone are the days of hesitant testing and risking people’s safety. To put it plainly, non-contact voltage testers are used to see if the voltage is present or not. Additionally, this tool can also detect mis wires of electrical outlets.

This portable tool is very well-liked for its simple and quick approach to see if the harmful voltage is taking place within your outlets or electrical panels. What is better? It does not entail a lot of buttons pushing or navigating, but it is mostly favored by maintenance people for its direct approach.

Choosing the right Non-Contact Voltage Tester for you.

There are diverse types of non-voltage testers. It’s best if you assess the operations, you usually do before purchasing a non-contact voltage tester to make the most out of it. Plus, keep value in mind when looking at non-contact voltage tester prices and remember that the best price does not necessarily equal the best value. With this said, take note of these Fluke non-contact voltage testers to determine the one for you.

Fluke 1AC II VoltAlert™ Non-Contact Voltage Detector

The Fluke 1AC II Volt Alert is perfect if you need a high-performing tool for general voltage detection. Uneasy leaving tools to shut down on its own? This non-voltage detector comes with an on/off switch of your convenience.

Here are more of its notable capabilities:

  • Voltage range: 90 V to 1000 V AC
  • Voltbeat™ technology and continuous self-test — so you always know it is working
  • Voltage indication: tip glows and beeper sounds (beeper can be disabled)
  • Safety: CAT IV 1000 V
  • On-off switch for maximum battery life

Fluke 2AC VoltAlert™ Non-Contact Voltage Detector

The Fluke 2AC Volt Alert is perfect for people who usually work in environments wherein sight indication is more preferred than sound. If you are a person who’s always on the go and needs a ready stead voltage detector, then the Fluke 2AC VoltAlert is the one for you. Although it still does feature audio beep voltage indicators, so technically speaking it’s just a tad bit more advanced than Fluke 1AC considering its extra features.

Here are more of its notable capabilities:

  • 90 V to 1000 V AC voltage range
  • Voltage indication: tip glows
  • Voltage indication: audio beeper for quiet environments
  • Safety: CAT IV 1000 V
  • Always on, using special low power circuitry to sustain battery life and ensure your 2AC is always ready
  • ‘Battery Check’ function ensures battery is in good condition

How do non-contact voltage testers work?

As we’ve mentioned, it is very simple and direct. Just touch the tip of your non-contact voltage tester to an electrical strip and wait for a beeping sound. Also, watch if the point turns either red or green. Red light indicates that high voltage is present while a green light tells that the wire does not harbor any dangerous voltages.

Here are things you should also remember when operating a non-contact voltage tester…

  • The tip glows red and a beeper sounds when voltage is detected
  • A loud, easy to hear beeper will sound and the tip will glow red when voltage is detected
  • Optionally, the beeper can be disabled for use in quiet environments
  • Continuous self-test so you always know it is working
  • When the tip blinks red you know it is working properly
  • Provides a continual visual indication that the 1AC II is on
  • 90 V to 1000 V AC or 200 V to 1000 V AC voltage detection range for wide application use.
  • Wide voltage detection range allows for use in a broad range of applications
  • Also available in a low voltage model from 20 V to 90 V AC for controls circuits

Can I get shocked while using a voltage tester?

We know, it is the complete irony for a device to be called “non-contact” and still require contact when being used. However, if your concern is getting shocked then let us put you at ease. Fluke specializes in making tools that prevent workers from getting hurt, and this does not leave out the Fluke voltage testers. 

Considering shocks, make sure that you are using and holding your voltage tester properly. Doing so will shield you from shocks. Only hold them on the insulated handle when you are undergoing an operation.

Okay, so we’ve touched up where to hold your voltage tester. Now, let us talk about watching where you are placing your other free hand. Make sure that it is not touching something that will expose you to live currents still (if ever the insulation fails).

Another word of advice, never undergo testing without wearing the proper personal protective equipment. Tools are just covering one part in protecting you from electrocution but having your PPE will provide you the complete safety and confidence you need when you’re working with these kinds of projects.

Some non-contact voltage testers can show a false positive or negative if…

Environmental factors can play a key role in getting accurate data from test tools. These are things that you need to consider, and from time to time, adjust to. Like all tools alike, the non-contact voltage tester is not different. At times, the device may show false positive or negative results. This is why it is especially important for you and your safety to take note of what is causing them for prevention purposes.

Reasons for false positive or negative:

  • The insulated test point touches grounded metal
  • The cable being evaluated is partially buried
  • The user is isolated from ground
  • The tester is used inside a metal enclosure
  • The cable is shielded
  • The battery is dead

The difference from other non-contact Fluke devices.

Fluke’s main priority is developing test tools that will keep workers and maintenance people safe in every operation. And to this day, they have kept their promise of providing workers the best test tools there are. This superbly handy non-contact voltage tester, however, differs from most since, well, it is smaller with more direct functions. No need to press a lot of buttons, no complicated navigation, and you will not even spend time reading the manual for this one. That is one of the winning factors of this test tool.

Purchase from an authentic source!

Hey, you made it to the bottom! Are you currently looking for the best-performing test tools in the market to run daily maintenance checks on your machines? You are in luck cause Presidium PH is an authorized distributor of Fluke test tools in the Philippines.

If you want to know more about Fluke tools and their functions, visit our website for more info! This is a one-stop shop for the best test tools within Metro Manila.

Fluke 1AC: https://presidium.ph/product/fluke-1ac-a1-ii-non-contact-voltage-tester/

Fluke 2AC: https://presidium.ph/product/fluke-2ac-non-contact-voltage-tester/

Read more

What is Nonstandard Fault Diagnosis and How Do We Deal With It?

What is it?

Wondering what a non-standard fault diagnosis is? If you are not a maintenance person, this may sound alien to you, but for maintenance people out there, it may be a piece of common knowledge. To give you a brief context, this kind of fault can easily be prevented by the thorough configuration and setup of your Fluke tool. Yes, that’s right, nonstandard fault diagnosis can stem from the assembly of your Fluke tool itself.

So before you go blaming the machine, see if you’ve got everything inputted in your Fluke device. Then again, aside from the setup itself, there are also some other underlying issues on why your Fluke tool is tagging it as a nonstandard fault diagnosis.

The three main causes of nonstandard fault diagnosis

With the use of Fluke tools, no doubt you can spot issues within your machines in a jiffy! For this one, we strongly recommend the use of the Fluke 810. Vibration Testers are one of the most recommended tools to spot machine faults. Not only is it highly effective in the field, but it can give you accurate diagnoses and solutions.

One of the most wonderful functions of this Fluke tool is its ability to detect, locate, and assess the severity of issues within equipment and rotating parts. May it be bearing condition, misalignment, imbalance, or looseness, one thing is for sure, it can be seen and resolved with the use of the Fluke 810 Vibration tester. In line with this, it can also tell nonstandard faults. Here are the three main causes…

1. Incorrect or incomplete setup. For this to work, you need to accurately input all the data of your machine while setting up the Fluke 810 Vibration Tester. One of the common faults of why you’re getting a nonstandard fault diagnosis is you’ve not put all the information of the machine you’re testing. So take note, it’s important for you to process everything while setting up your vibration tester.

2. Incorrect or insufficient data collection. Again, incorrect inputting of data plays a big hand in this. Technically, this happens when the minimum data collection requirements were not met. Moreover, the running speed of the machine (which was not accurately entered) can also be the cause of this.

3. Vibration condition other than one of the four standard faults. Yes, you can still have a nonstandard fault diagnosis other than detecting the four standard faults. Ideally, The Fluke 810 recognizes these readings. However, we will get to that in a little bit.

How to deal with nonstandard fault diagnosis

If you find yourself having a nonstandard fault diagnosis whilst doing a normal testing procedure, the next thing you should do is to have another test. See if the result stays the same or if it changed. If the results change, then it might just be the effects of having data collection errors or vibration events. However, if you do get another nonstandard fault diagnosis, then it might be high time to undergo another process. Here is how you will do it…

  • You might have to tinker with your Fluke tool. Specifically check if information about the driver, transmission, and driven component has been entered (or other relevant data). In addition, also take note of the component types. Was the AC motor accurately described like the DC? How about the screw compressor? It might have been entered as a piston compressor.

Technically, these are the things you have to double-check once you have a second reading of a nonstandard fault diagnosis.

  • Data quality and quantity are enough to achieve an accurate diagnosis. Again, complete information is necessary when you’re working with the Fluke 810 Vibration Tester. A good practice (or something to keep in mind) is never to set up or test partial drivetrains.
  • Double-check if the vibration data was collected. See if the location and orientation of the components are the same as the ones on the setup diagram in the Fluke 810.

Consider these other fault conditions…

In such a time that you’ve inputted all information but are still getting the same nonstandard fault diagnosis result, then you might consider these other faults that are not brought up by your Fluke 810 device setup. According to an official Fluke source, these are the probable causes…

Electrical

Electrical switching fault in a variable frequency drive

Problems with Motor components (stator, winding, commutator, brush)

Motor lamination looseness

Motor air gap problem

Line phase voltage imbalance

Non-bearing mechanical element wear or defect

Pump component (vane, timing gear, impeller, piston, idler shaft, rotor) wear or clearance problemsMotor cooling fan blade damage

Gearbox input shaft pinion problem

First gear mesh problem or wear

Fan wheel wobble

Fan dirt buildup or blade clearance problem

Sheave problems

Drive belt irregularity

Coupling wear

Compressor components (rotor thread, piston/valve, impeller, lobe) wear

Flow related

Pump cavitation or air ingestion

Fan airflow disturbance

Compressor gas pulsation Structural

Structural vibration or resonance

Motor or pump mounting flexibility

Motor foundation flexibility or resonance

Foundation weakness or resonance

Foundation vibration

Fan mounting transverse flexibility

Other

Overloaded accelerometer

Oil whirl

Oil whip 

Resolve these failures using Fluke Tools!

Hey, you made it to the bottom! Are you currently looking for the best-performing test tools in the market to run daily maintenance checks on your rotating machines? You’re in luck cause Presidium PH is an authorized distributor of Fluke test tools in the Philippines. Prevent these faults from penetrating your rotating machine by using the best test tools there are!

If you want to know more about Fluke tools and their functions, visit our website for more info! This is a one-stop shop for the best test tools within Metro Manila.

Read more